Outdoor Learning Activities


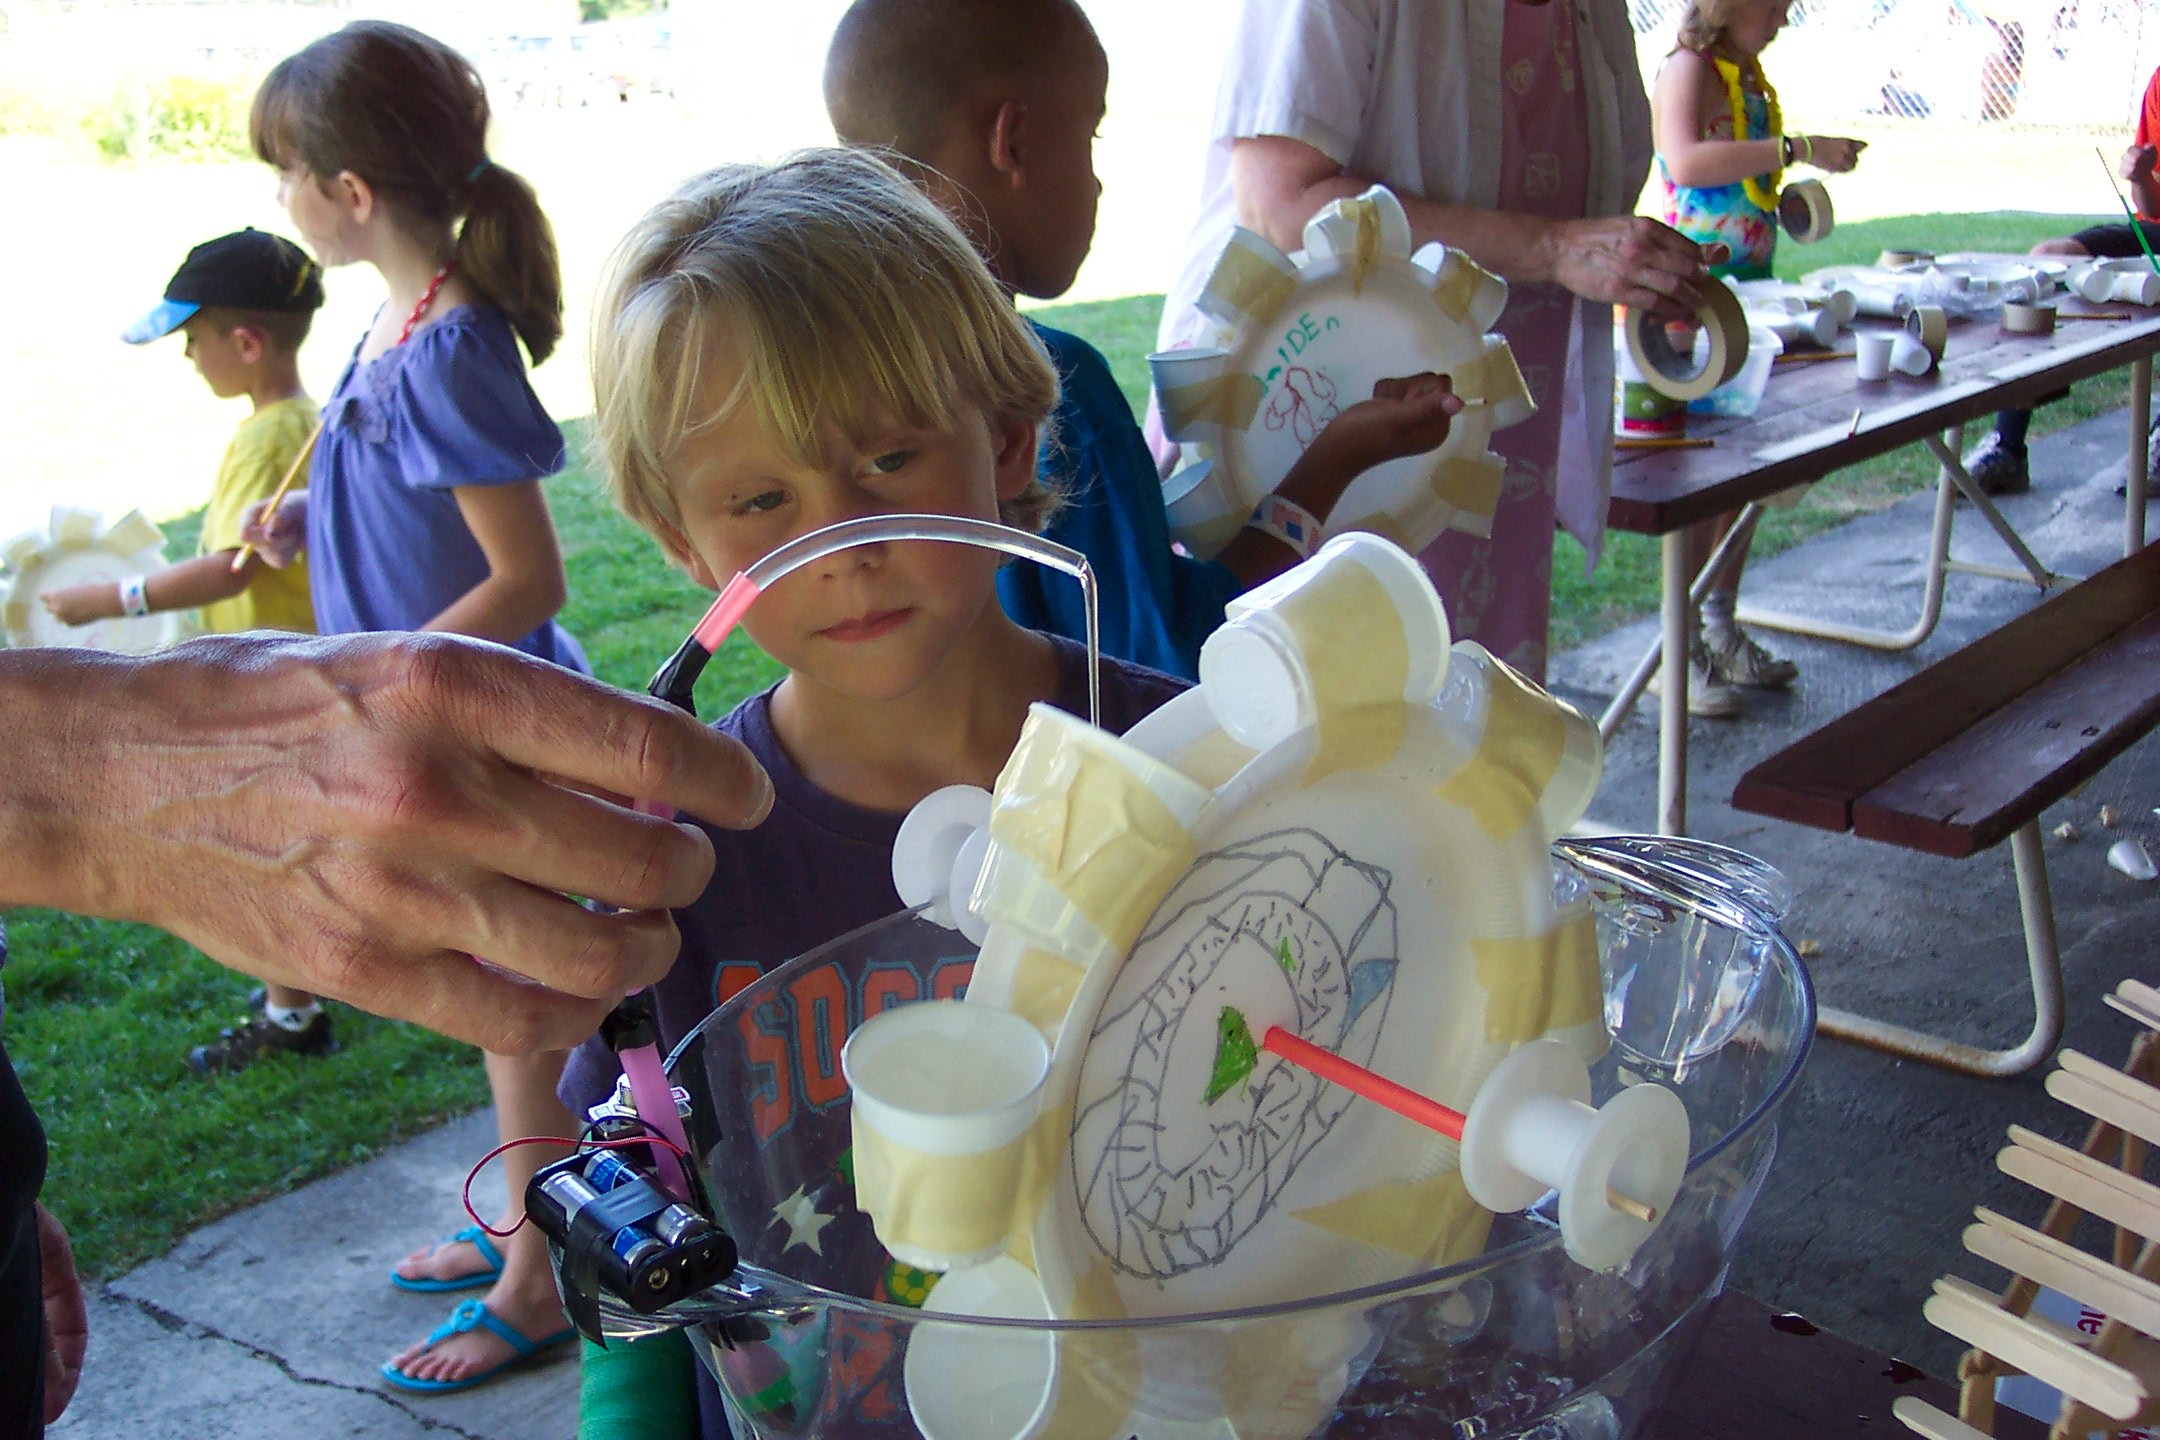
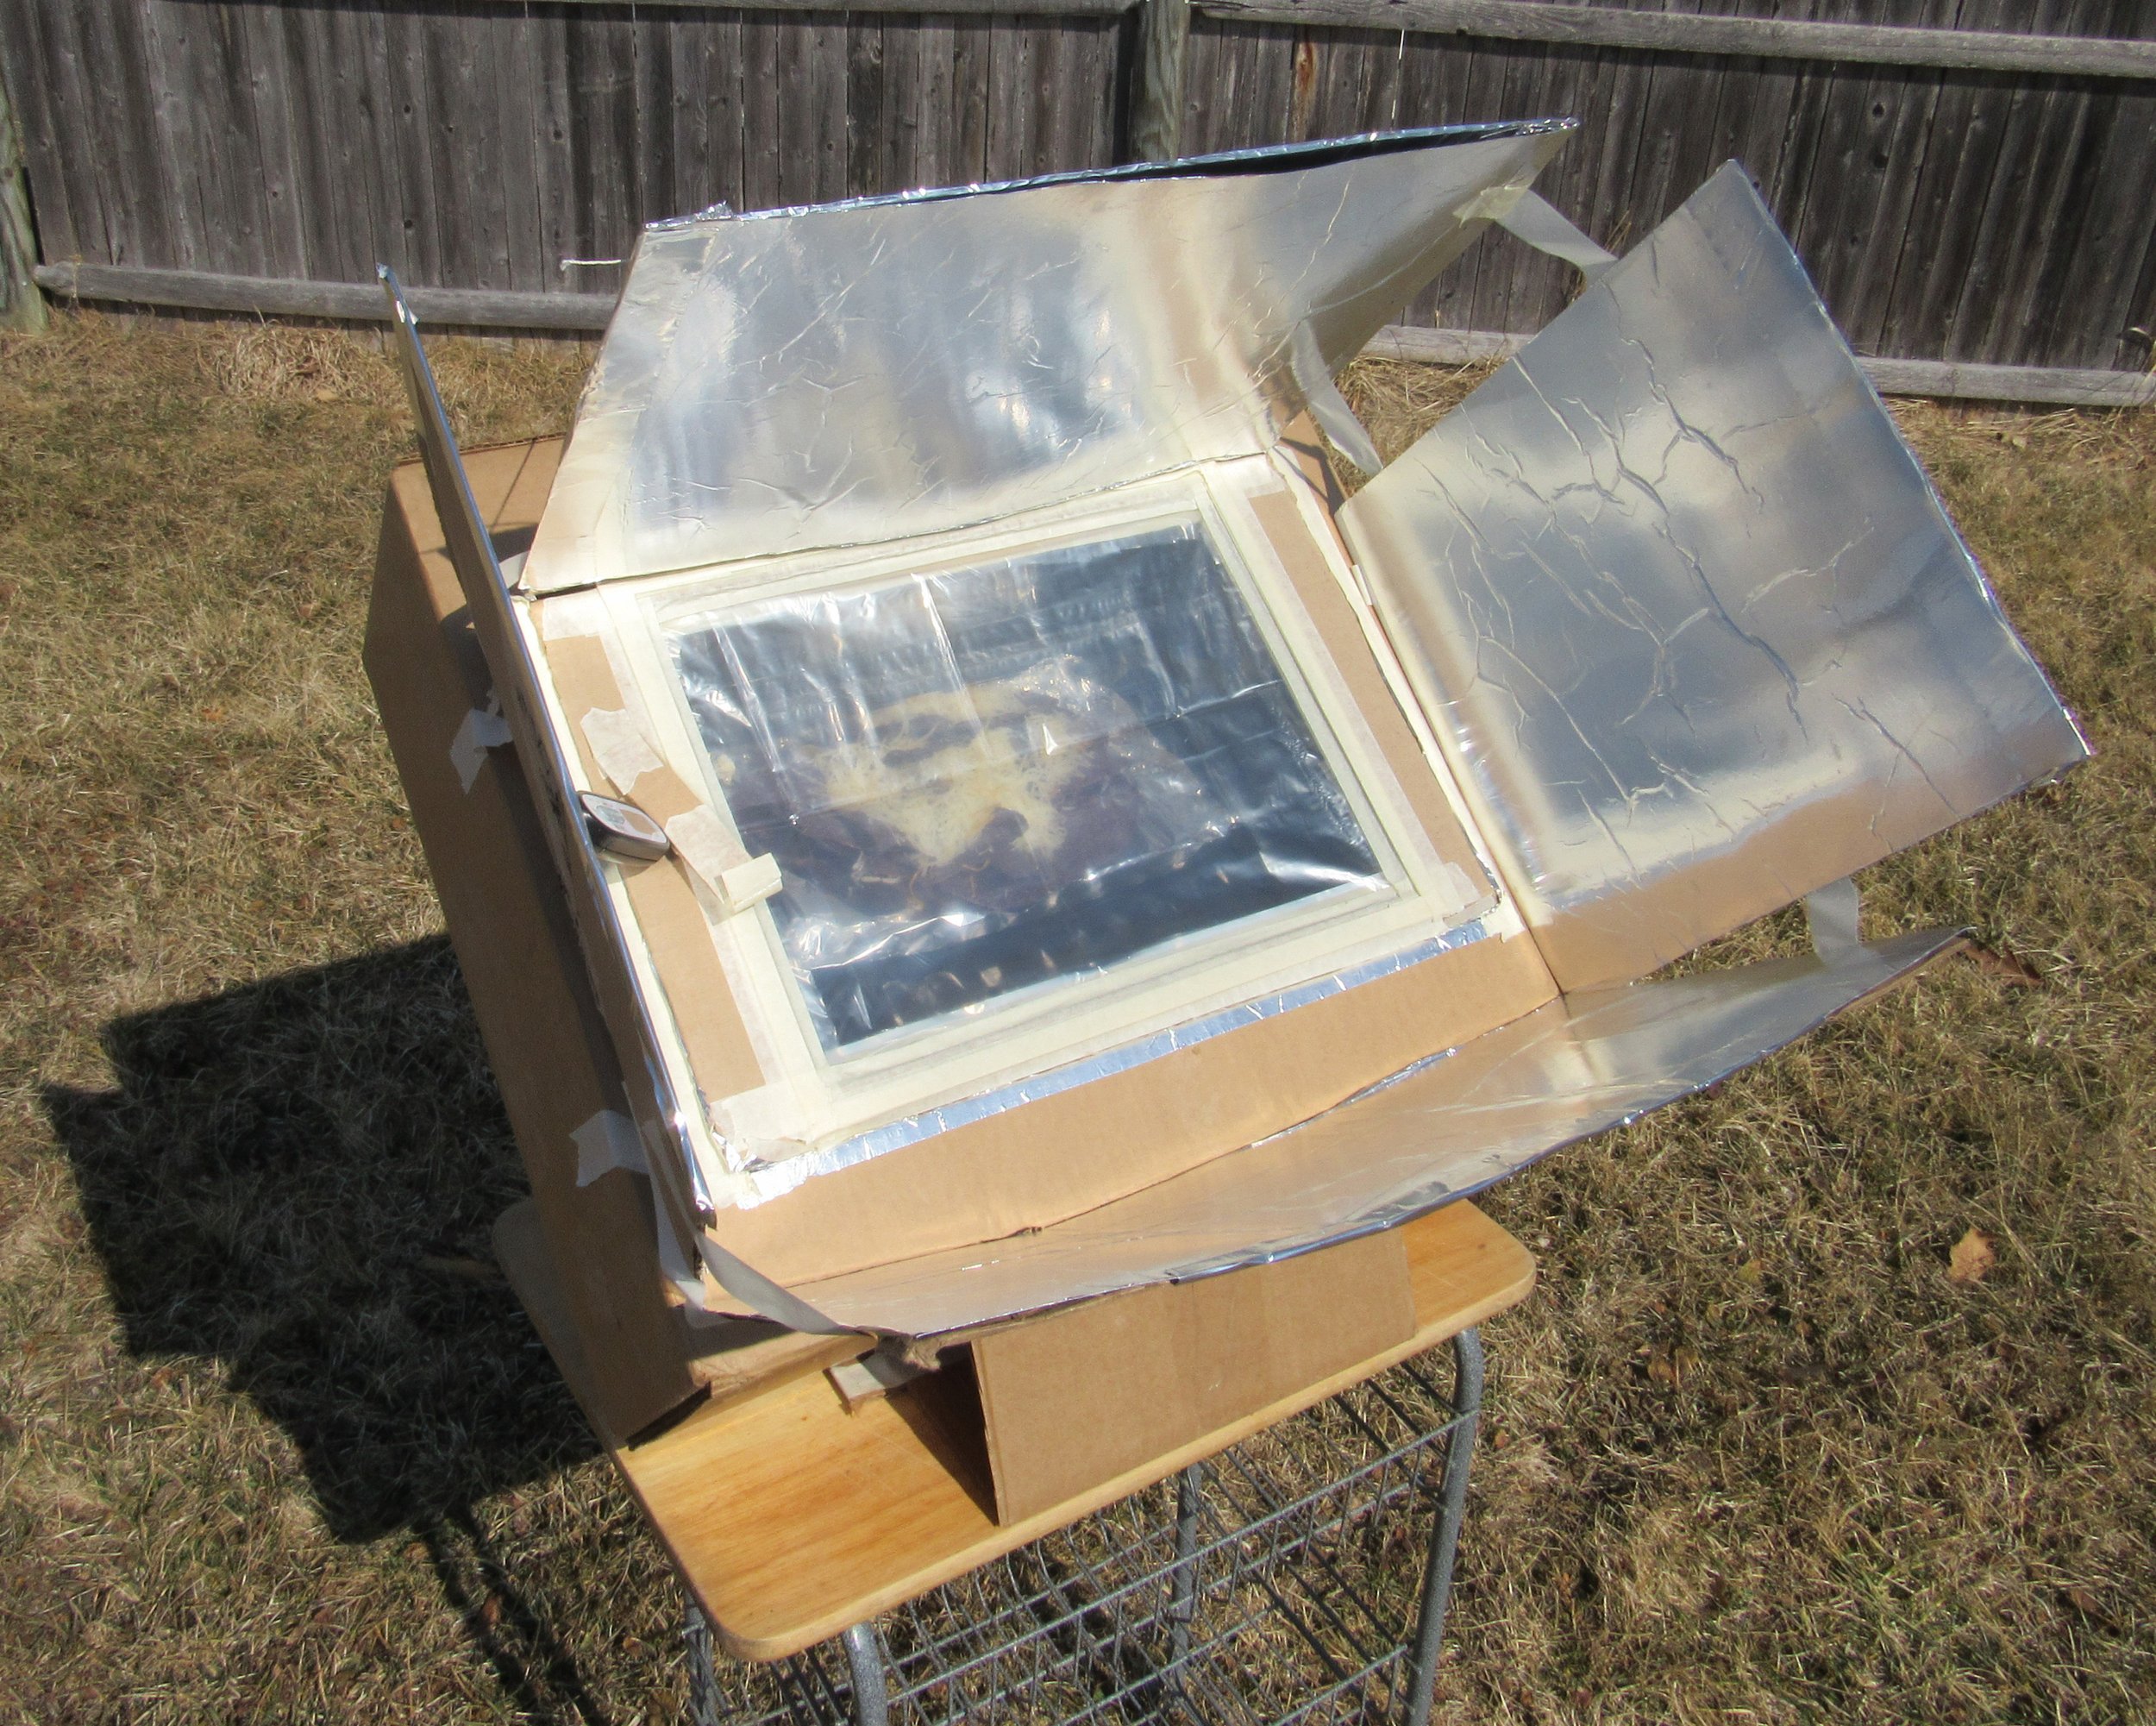
Comparing solar cooker designs


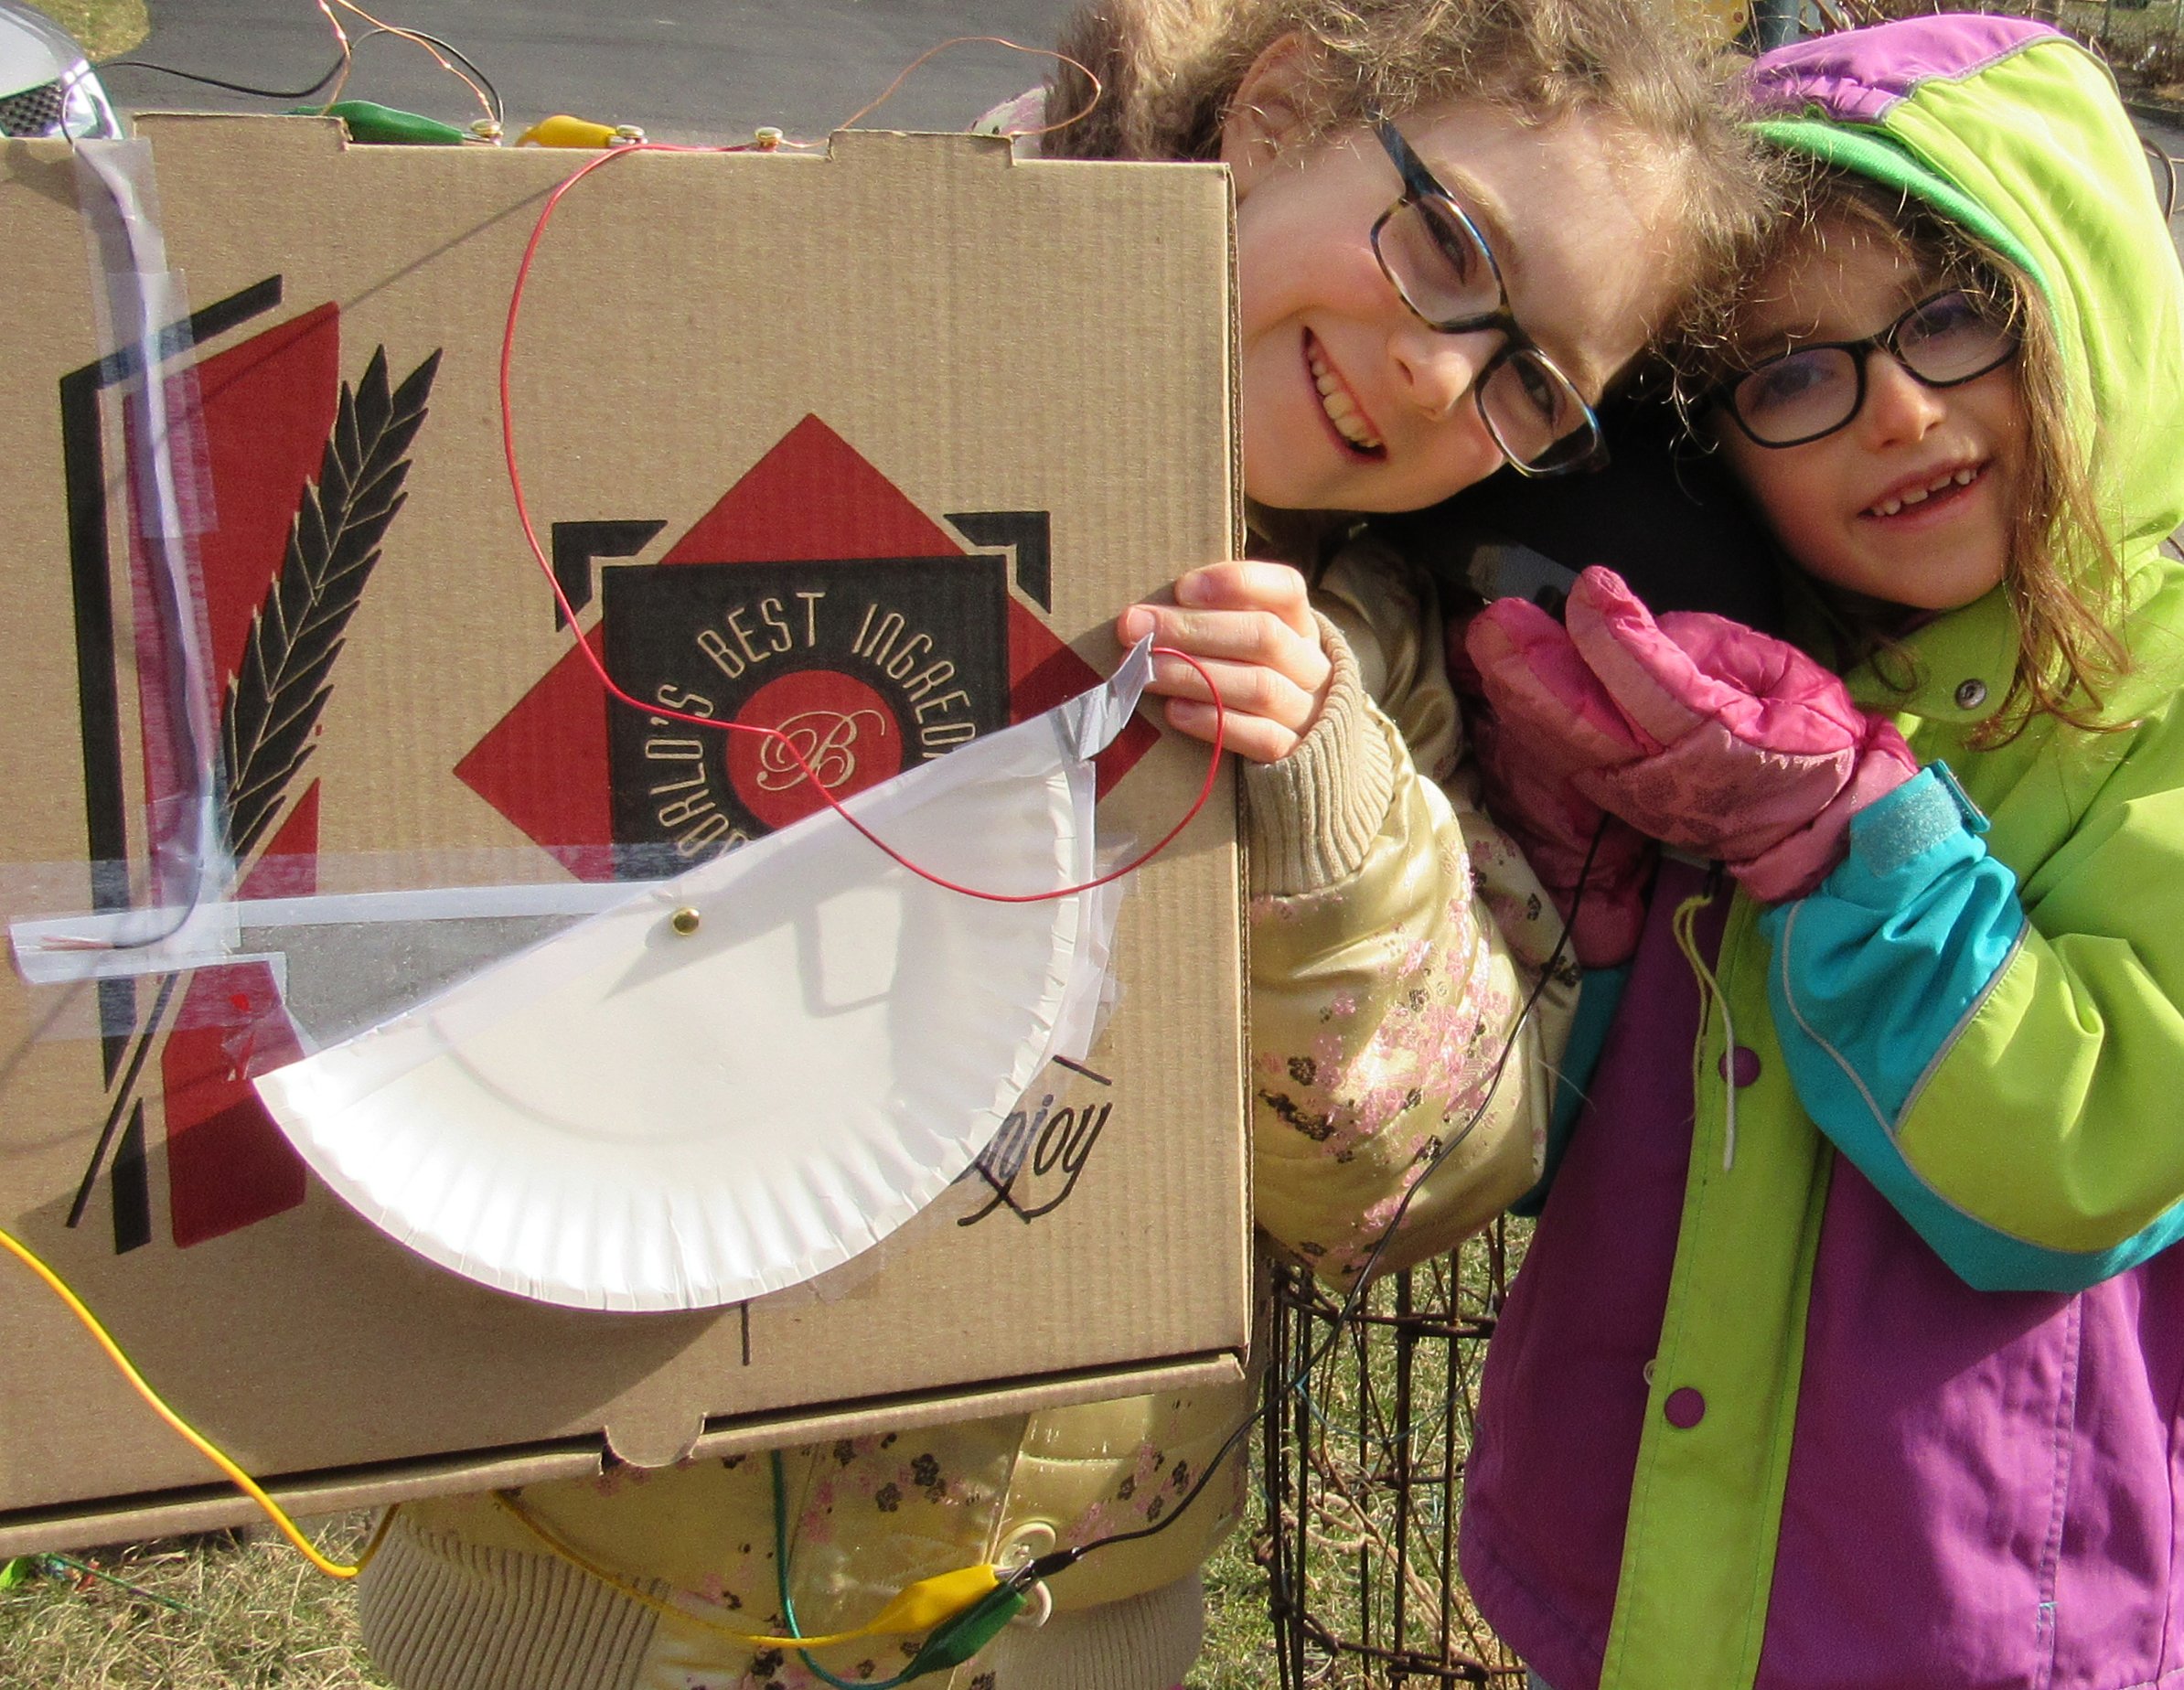
Looking for outdoor group activities with STEAM connections? Here are a few to try:


You can find the instructions and background for most of these projects in my books!

Upcoming Classes through SEA Homeschoolers


Join our DIY Homeschool community on Facebook!


This page may contain affiliate links. Thanks for helping me to keep producing great learning resources for students and families!


Hands-On STEM Resources — Science

 
pH.jpg
 

In the old days, classroom teaching materials meant texts and workbooks. Nowadays, it might mean an online curriculum.

But there are plenty of hands-on learning tools that give kids a deeper experience by engaging more than just their eyes and ears – and allowing for creativity in the results!

Many activities can be done with just the materials you already have on hand. You can find suggestions for how to do them in books (including mine!) and on parenting blogs (mine are here ) for use at home. For example, my post on Nature Schooling shows you how to build a curriculum around backyard observation.

Also check out resources aimed at classroom and informal educators, such as Instructables (free, with contests for best inventions!) and Teachers Pay Teachers.

The kits and special supplies mentioned here are available through educational retailers, toy sellers, and local stores. For many, you can find teacher guides that show you how to do one project or build a unit or even a complete course around the materials.

To get you started, I’ll be sharing some suggestions for teaching STEM subjects – Science, Technology, Engineering, and Math – without a textbook. Keep in mind, many activities and supplies can be used to touch on a variety of subjects, all at the same time, or when used in different ways. First up — science!

At-Home Science Resources

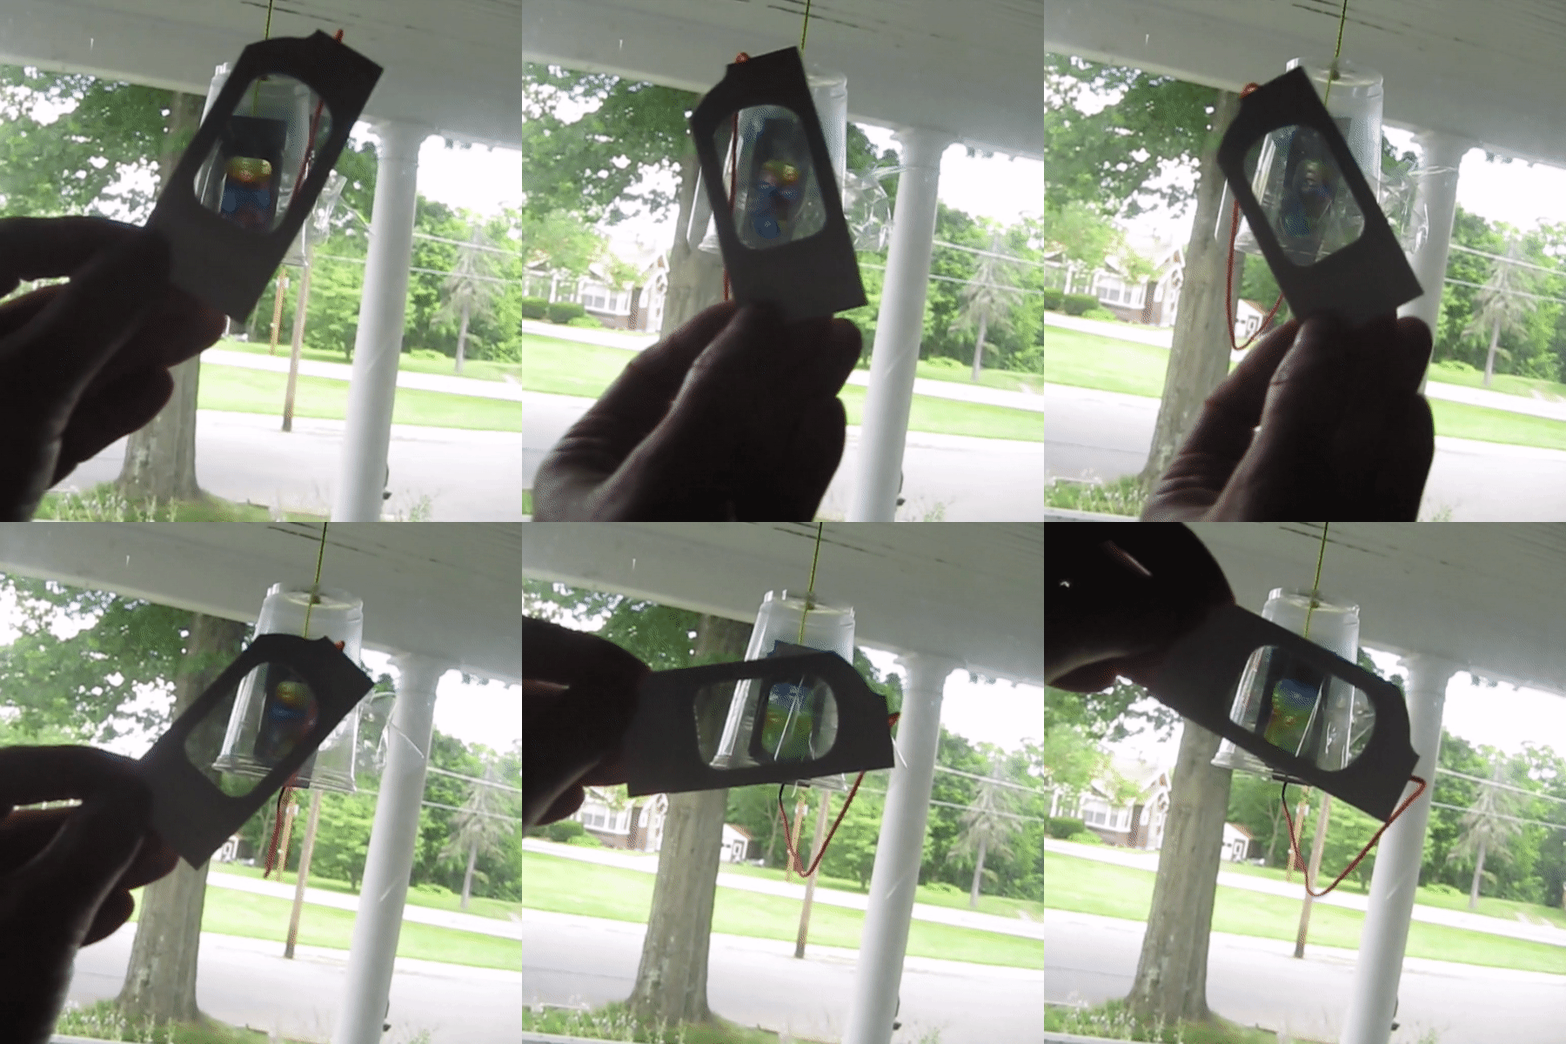
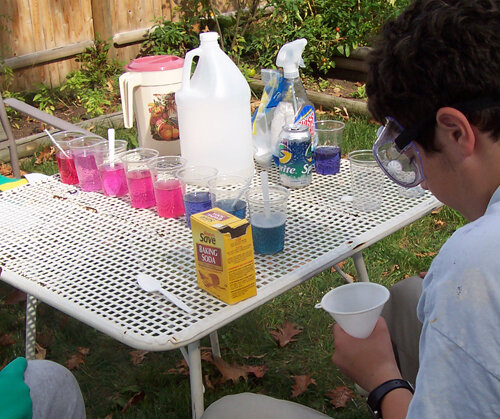
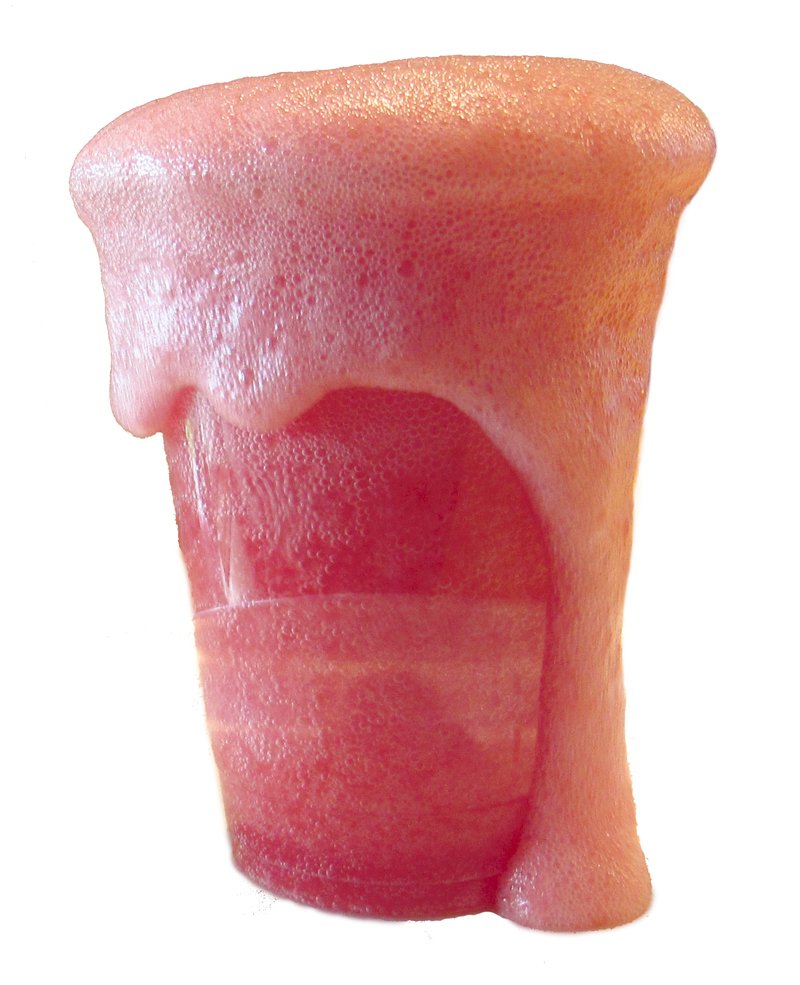
At-home science activities go way beyond baking soda and vinegar volcanoes. We’ve measured the pH of learned laboratory techniques breaking down aspirin tablets into their component chemicals, experimented with the state of matter called plasma (a kind of electrified gas) by cooking grapes in a microwave, and proved that light is both a wave and a particle with a laser pointer and Styrofoam cup.

You can find many of my at-home science experiments in my books, and I’ll be updating my old science blogs over the coming weeks.

That said, if science is a weak area for you, or if you can’t pull together all the materials you need, science kits are a great way to go. Be careful what you pick -- some kits don’t always work, are hard to figure out, or ask you to provide so much yourself that they’re barely worthwhile. Here are a few science companies that get great reviews from kids, parents, and educators:

Kiwi Crate is a subscription box that includes everything you need to do one project each month. The kits are well-built and come with clear instructions. The company also produces lines for older and younger kids on themes including making, engineering, and crafts.

ScienceWiz can be found in books-plus-kits are sold in the toy section of major stores, but their quality is much higher than some flashier-looking products. My kids built a working AM radio from the Inventors Kit that we still talk about to this day.

Steve Spangler is known as a TV science showman best known for popularizing the Diet Coke and Mentos demonstration, but he also creates kits, videos, and instructions to help you do experiments at home.
Join our DIY Homeschool community on Facebook!


This page may contain affiliate links. Thanks for helping me to keep producing great learning resources for students and families!


Nature Schooling: Do a Backyard Biodiversity Audit!

 
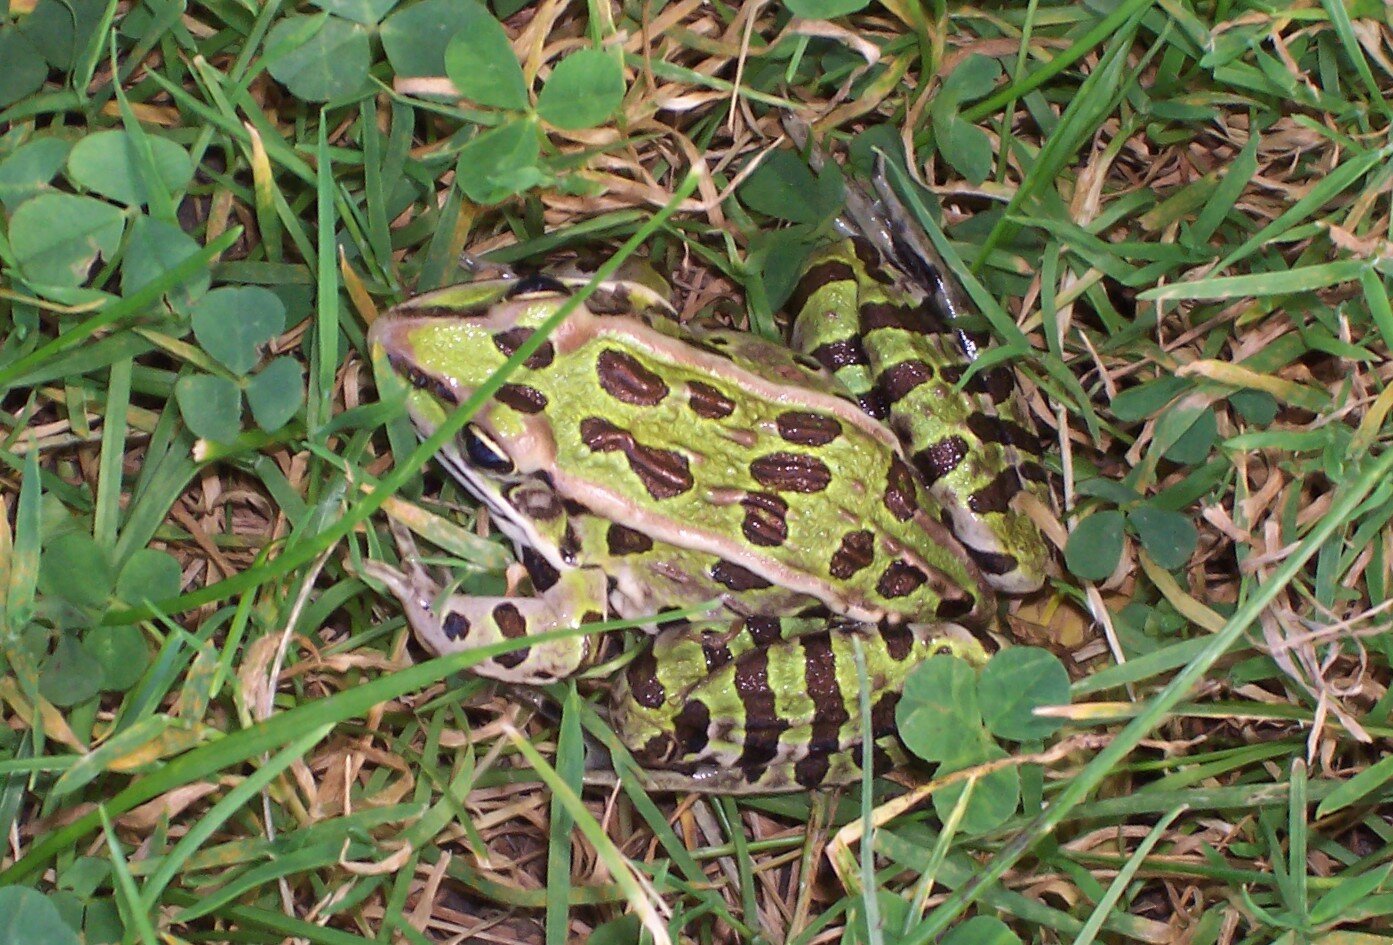
Shamrock Frog.JPG
 

How many different species live in your backyard or neighborhood? Can you name them all?

Inspired by a project called “The 100 Species Challenge,” we recorded, described, identified, and mapped 100 different species of living things within a few minutes’ walk of our home. Scientists call this a “biodiversity audit.” Charles Darwin conducted the first one ever in June 1855, when he counted the different types of flowers in the meadows around his home in Kent, England. His findings appeared in his book On the Origin of Species.

Our challenge served as our homeschooling biology study for the first half of the year. But in addition to learning about different types of plants, animals, fungi, and other living things, my kids sharpened their observational and documentation skills, practiced recording and analyzing data, and learned how to present what they learned so it was interesting and accessible to a general audience.

The steps laid out here take the activity from informal observation all the way up to science fair research project. You can do as many or as few of them as you like. And you can do it in one day, make it a daily or weekly activity, or come back to the same location in different seasons. In any form, it’s a great way to incorporate outdoor studies into your school or homeschool routine!


Materials

  • notebook and pen or pencil

  • your map (see instructions)

  • wildlife field guidebooks or apps

  • camera

  • binoculars, magnifying glass

  • sample bottles or bags for collecting microscopic life forms

  • field or desktop microscope


Instructions

Step 1: Choose an area to survey and make a map


Choose an area to search for different kinds of living things. These can include anything – birds, insects, wildflowers, weeds, vegetable gardens, fish ponds, mushrooms and slime mold. Pick an area (backyard, street, park, etc.) that has as many different kinds of environment as possible. A wild meadow will have more different species than a manicured lawn.

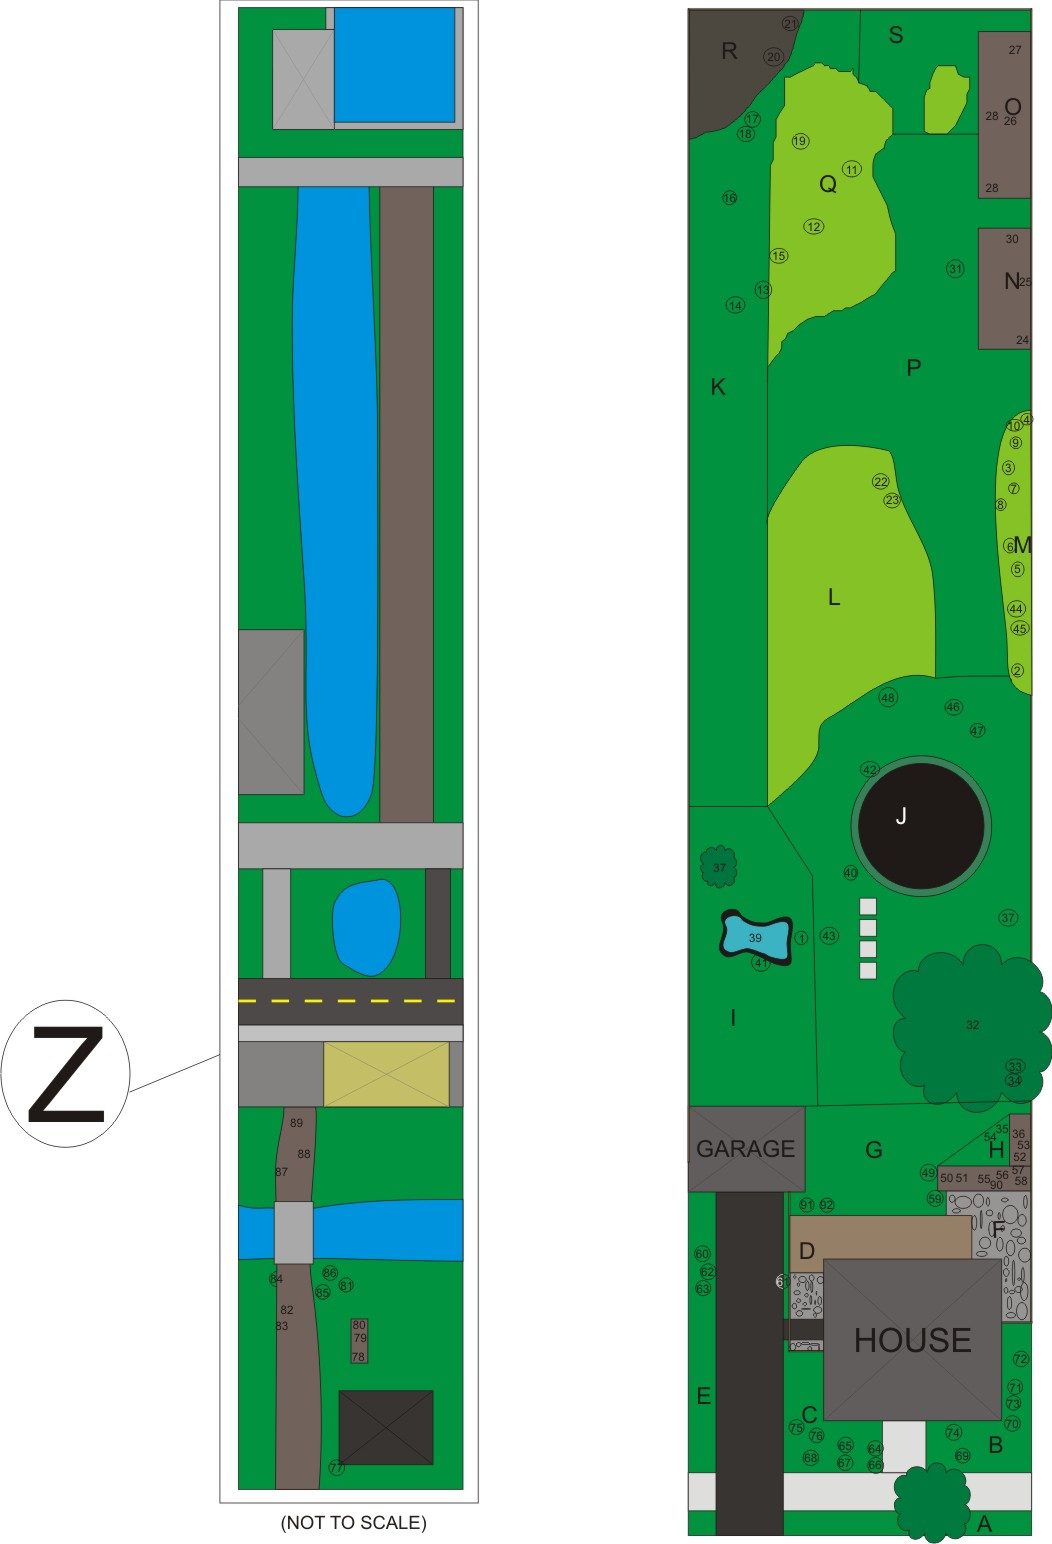
Backyard Survey Map.png

We actually left several patches of our backyard un-mowed for a year in order to create little mini-meadows to study. A family of rabbits moved into the meadows, and a mulberry tree grew to be three feet tall in the course of one summer. We also discovered a rare type of freshwater bryozoa in the nearby canal. You may be surprised at the number of large animals and unusual plants that live on the edge of your yard or neighborhood!

Once you choose the area to be surveyed, make a map showing landmarks such as buildings, sidewalks, trees, fences, gardens, streams and ponds. Divide the area on the map into sections and give each section a label. In the example above, we used letters to label each section of the yard, the deck, the patio, the garden, etc. In the full version of the map at the top of this chapter, you can see symbols for trees, an artificial fish pond, and a trampoline.


Step 2: Start recording species

Take a notebook, pen or pencil, and camera or phone to take photos, videos, and record sounds. If you have binoculars or a field microscope (or a microscope attachment for your phone camera), bring those as well.

Choose one section of your map to begin your survey. Walk carefully around the section and make a notation of every species you see. Give each species you see a number, and mark the number on the map to show where you found it. Completely cover one section of your area before moving on to the next.

If you don’t know the name of an organism, write down as much information as you can about it. You can make a list of things to describe or create a chart with categories like size, shape, and color. If you have a field guide to local wildlife with you, use it when you come across something you can’t identify.

 If you have a camera, be sure to take a photo of every species as well. Try to frame the picture with an uncluttered background so the species you’re focusing on stands out. If you don’t have a camera, draw a picture or diagram of the organism, labeling details for later.

Whether or not you have a field microscope or magnifying glass with you, you can take samples of water, soil, or vegetation, put them in bags or bottles, and bring them back to observe under controlled conditions.

If you do the survey on different days, be sure to include a description of the weather conditions and how the environment changed.

Step 3: Identify the species

If you are having trouble identifying a species, and you can’t find it in your field guide, use your photos and/or drawings and written description to try to identify it. There are many searchable websites that list different species by description, as well as apps that let you upload an image for identification. You can also contact local wildlife experts and biologists for help. Try a nearby college or your state environmental department.

Spider.jpg

Once you have identified a species, do some research to find out more about it. Add this information to your notes of your observations. Check to see if your observations are typical or unusual for that species.

Step 4: Pull your data together

When you have gathered all your data, you need to arrange it in a form that you and others can use. If you have made handwritten notes, copy them over neatly or type them into a computer. Pick out the best photos of each species, and crop it to get the best view.

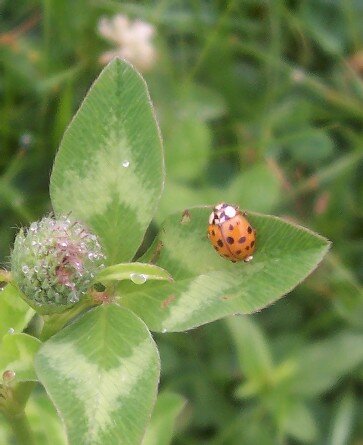
Decide how to you want to organize your information. If you enter the data into a computer spreadsheet like Excel, for example, you can easily figure out how many birds you found by the pond or how many insects by the rose bushes. Or make your map into an infographic, using color coding and symbols (for instance, a symbol of a ladybug wherever you found an insect).

You should also think about how you want to present your data to others. Suggestions include creating a large version of your map, with details about each species along the side. You can also print out your descriptions and photos in book form, post them on a website or blog, or create a slideshow with music and narration.

Step 5: Analyze your data

Red SquirrelJPG.jpg

Look at your observations to see what patterns emerge. Were there more of one kind of species than another? What kinds of places had the most diversity? Did you discover any rare or unusual species? What did you notice about the way the species interacted with each other or the environment?

If you made a hypothesis about what kind of species you would find, where they would live, or what time of day or season you would find them, see whether your hypothesis was proven by the data.


This page may contain affiliate links. Thanks for helping me to keep producing great learning advice and activities for kids!


Design an Official Seal for Your Own Country!

 
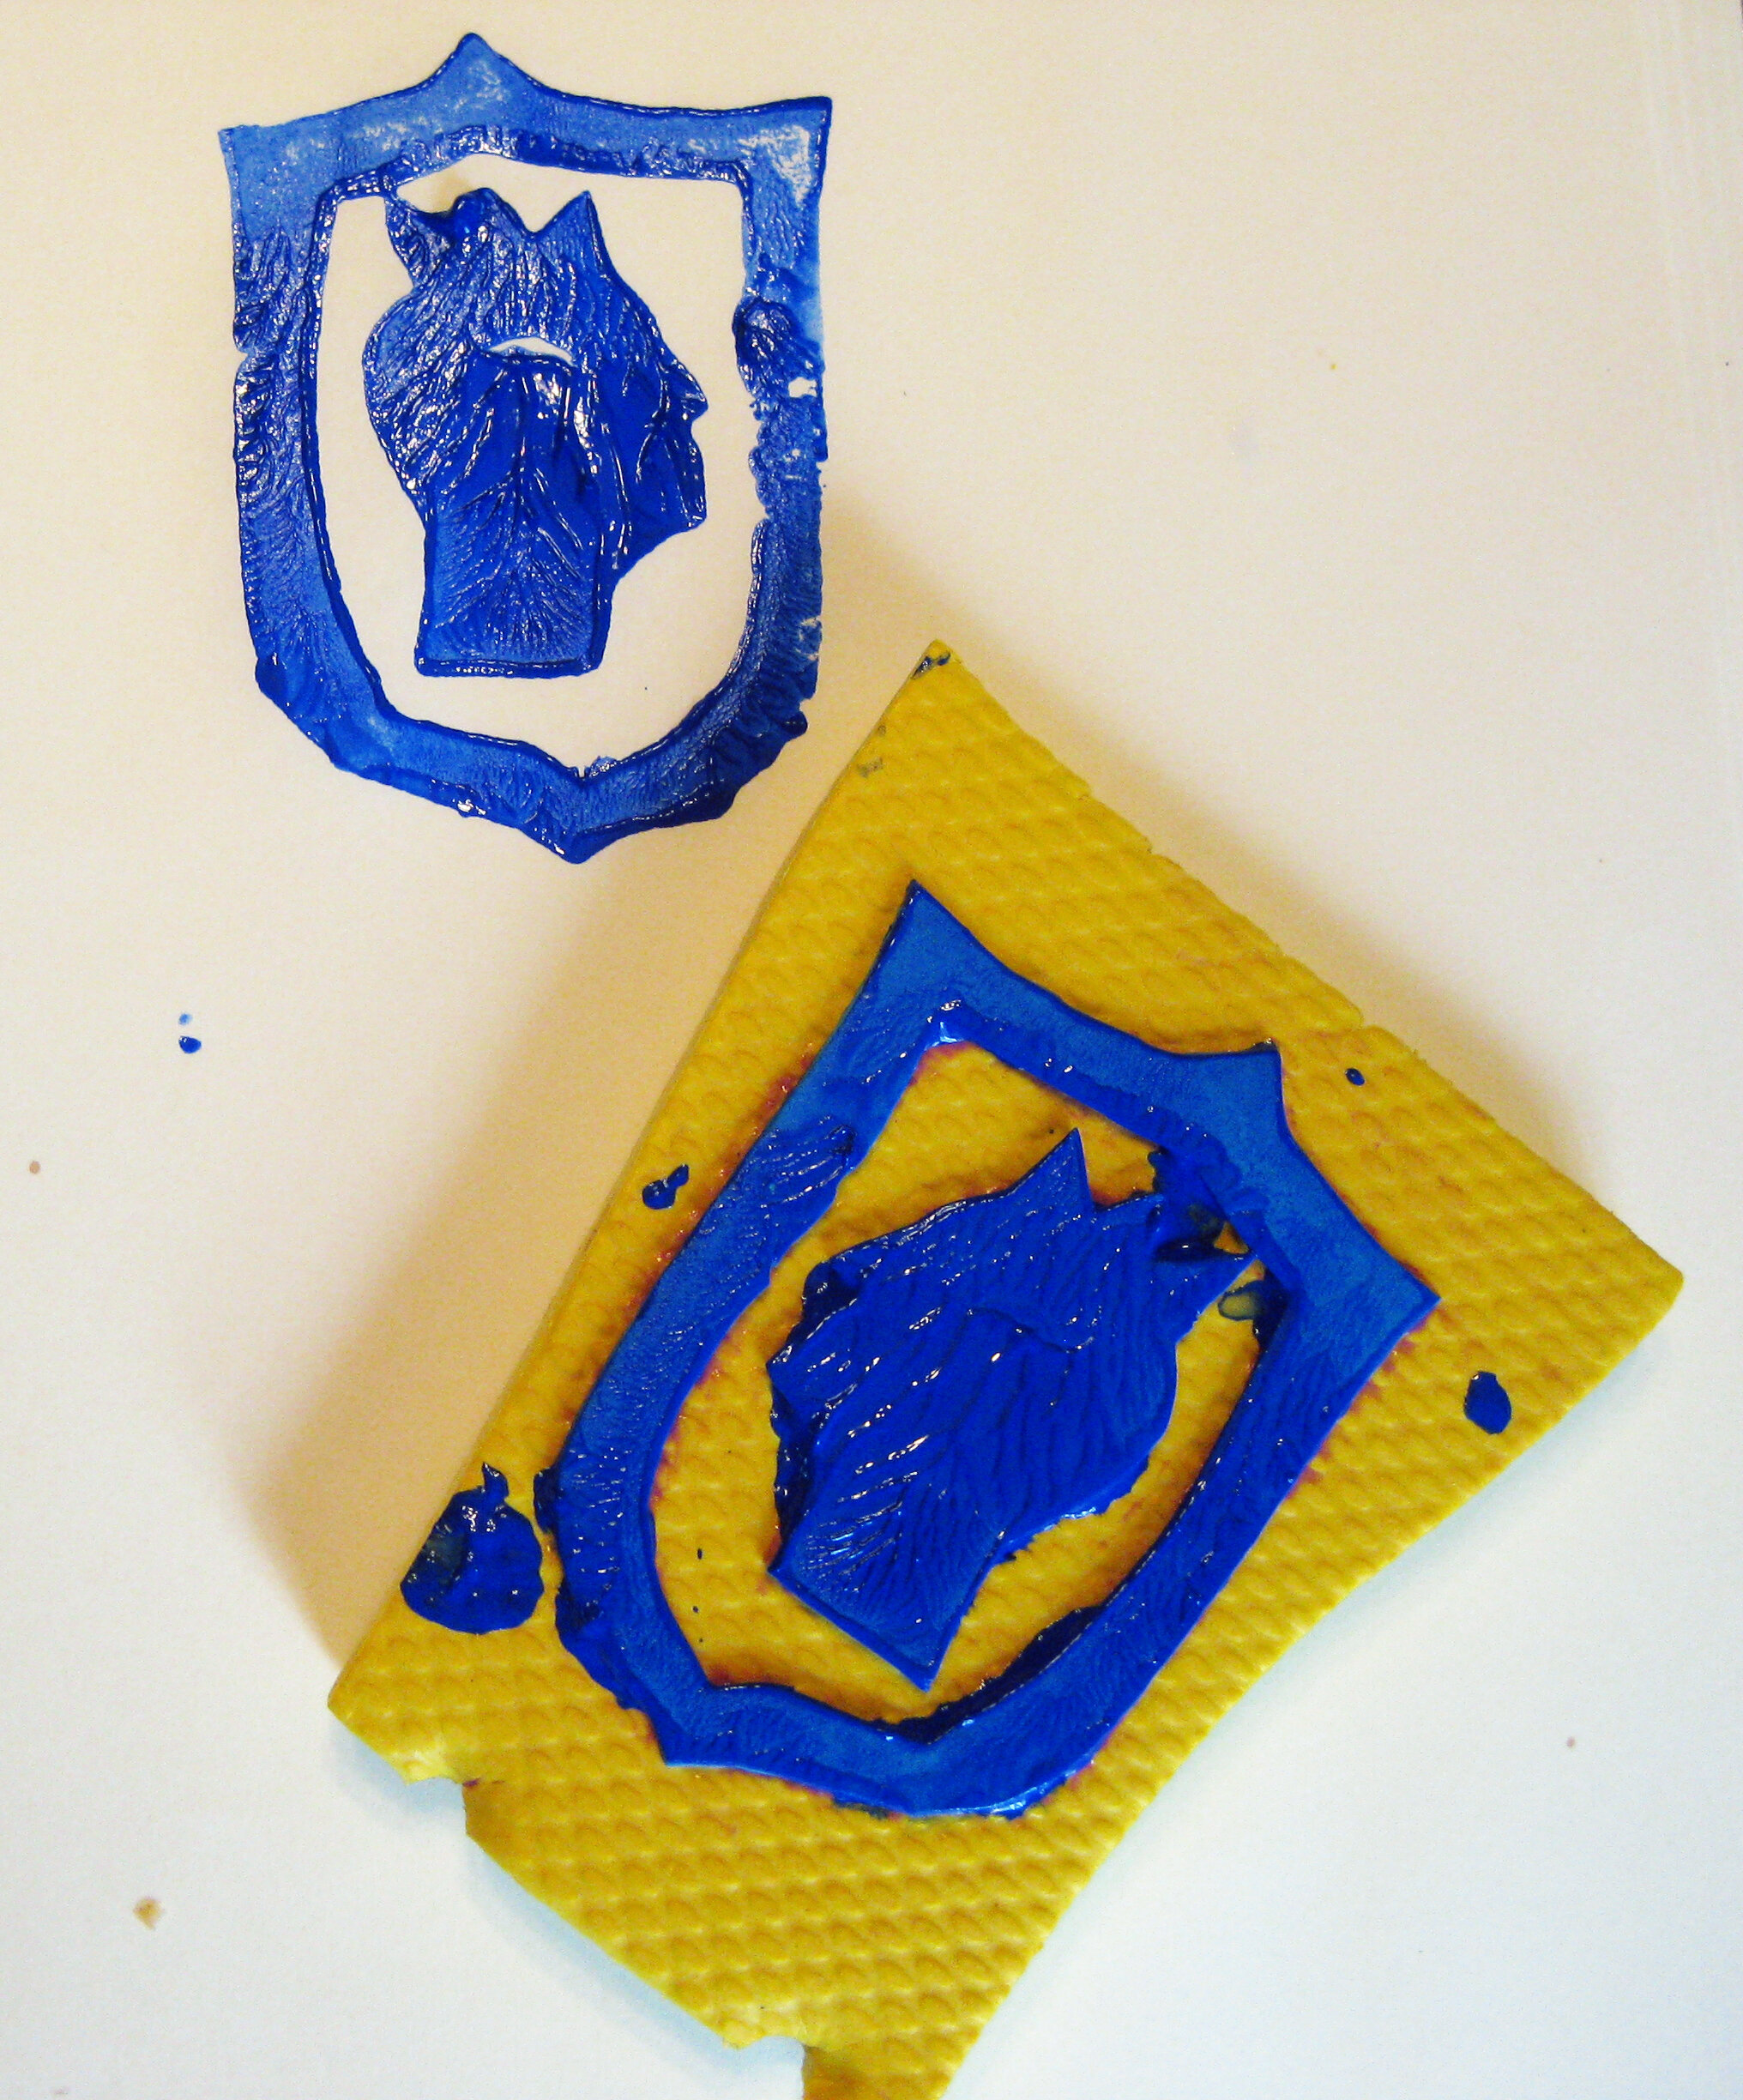
Finished stamp and mark
 

In my book Micronations: Invent Your Own Country and Culture, I show you how to design a country around a theme of your choosing. Micronations are imaginary countries that have a lot of the same things as real ones: laws, customs, history-even their own flags, coins, and postage stamps. The documents, symbols, and other physical artifacts you create tell the world what your country is about.


You can find out more about the book and print out a PDF of this project at the Nomad Press website.

Get your softcover copy from Nomad and shipping is free through April!


Once you’ve come up with ideas for symbols for your country, you can use them to make your micronation’s official coat of arms and a seal. For example, the Great Seal of the United States shows an eagle holding arrows symbolizing war in one claw and an olive branch symbolizing peace in the other.

Seals were originally designs pressed into a soft piece of wax with a mold. A seal put on a document shows that a person or government official has approved it. Today seals are usually stamped on with an inkpad or pressed into a piece of paper with a special tool so that it leaves a raised mark. This project makes a rubbery stamp for putting an inked seal on important documents.

Materials

Materials
  • paper and pencil

  • marker

  • craft foam

  • scissors

  • glue

  • piece of cardboard, flip flop, or blocks of wood small enough to fit in your hand

  • inkpad, or paint on a disposable plate


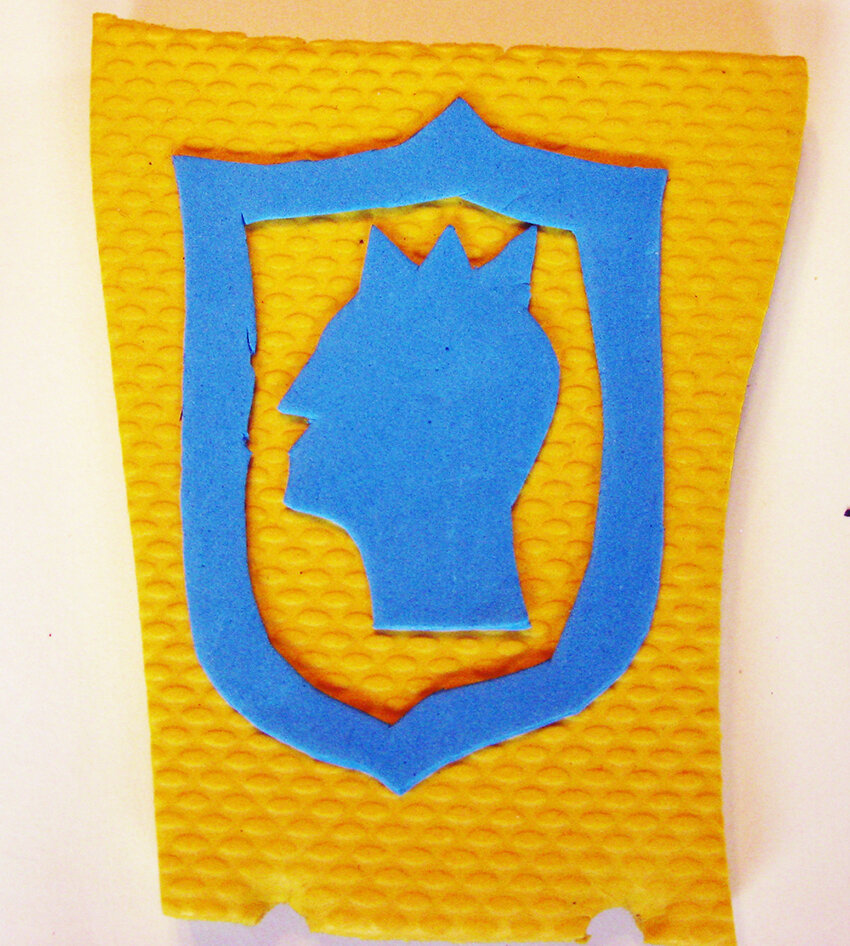
  1. Start by sketching out your micronation’s coat of arms. First draw the outside border of your design. Make it thick like the frame on a painting. It can be a circle, a shield, or any shape you like. Then choose some of your micronation’s symbols and arrange them inside the border. Keep the symbols simple, and make sure they don’t touch each other or the outside border.

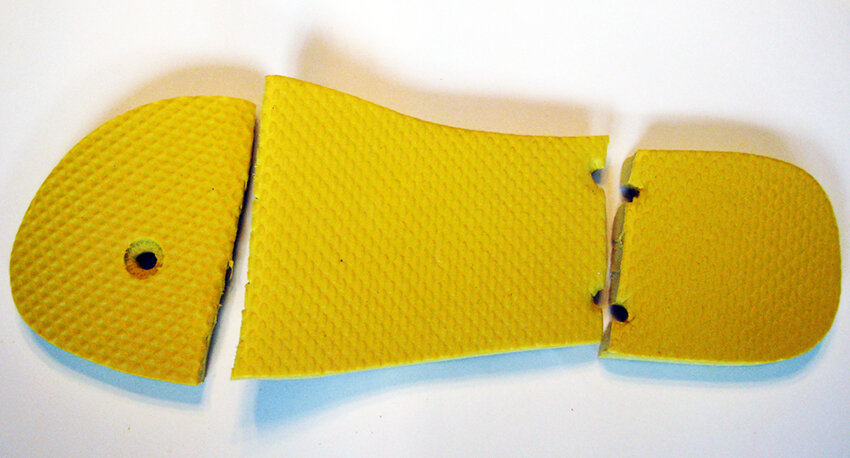
  2. To make the stamp, copy your coat of arms onto a sheet of craft foam. To make the backing, take your cardboard, foam backing from a flip-flop shoe, or wood and lay it on the table with the stamping side facing up.

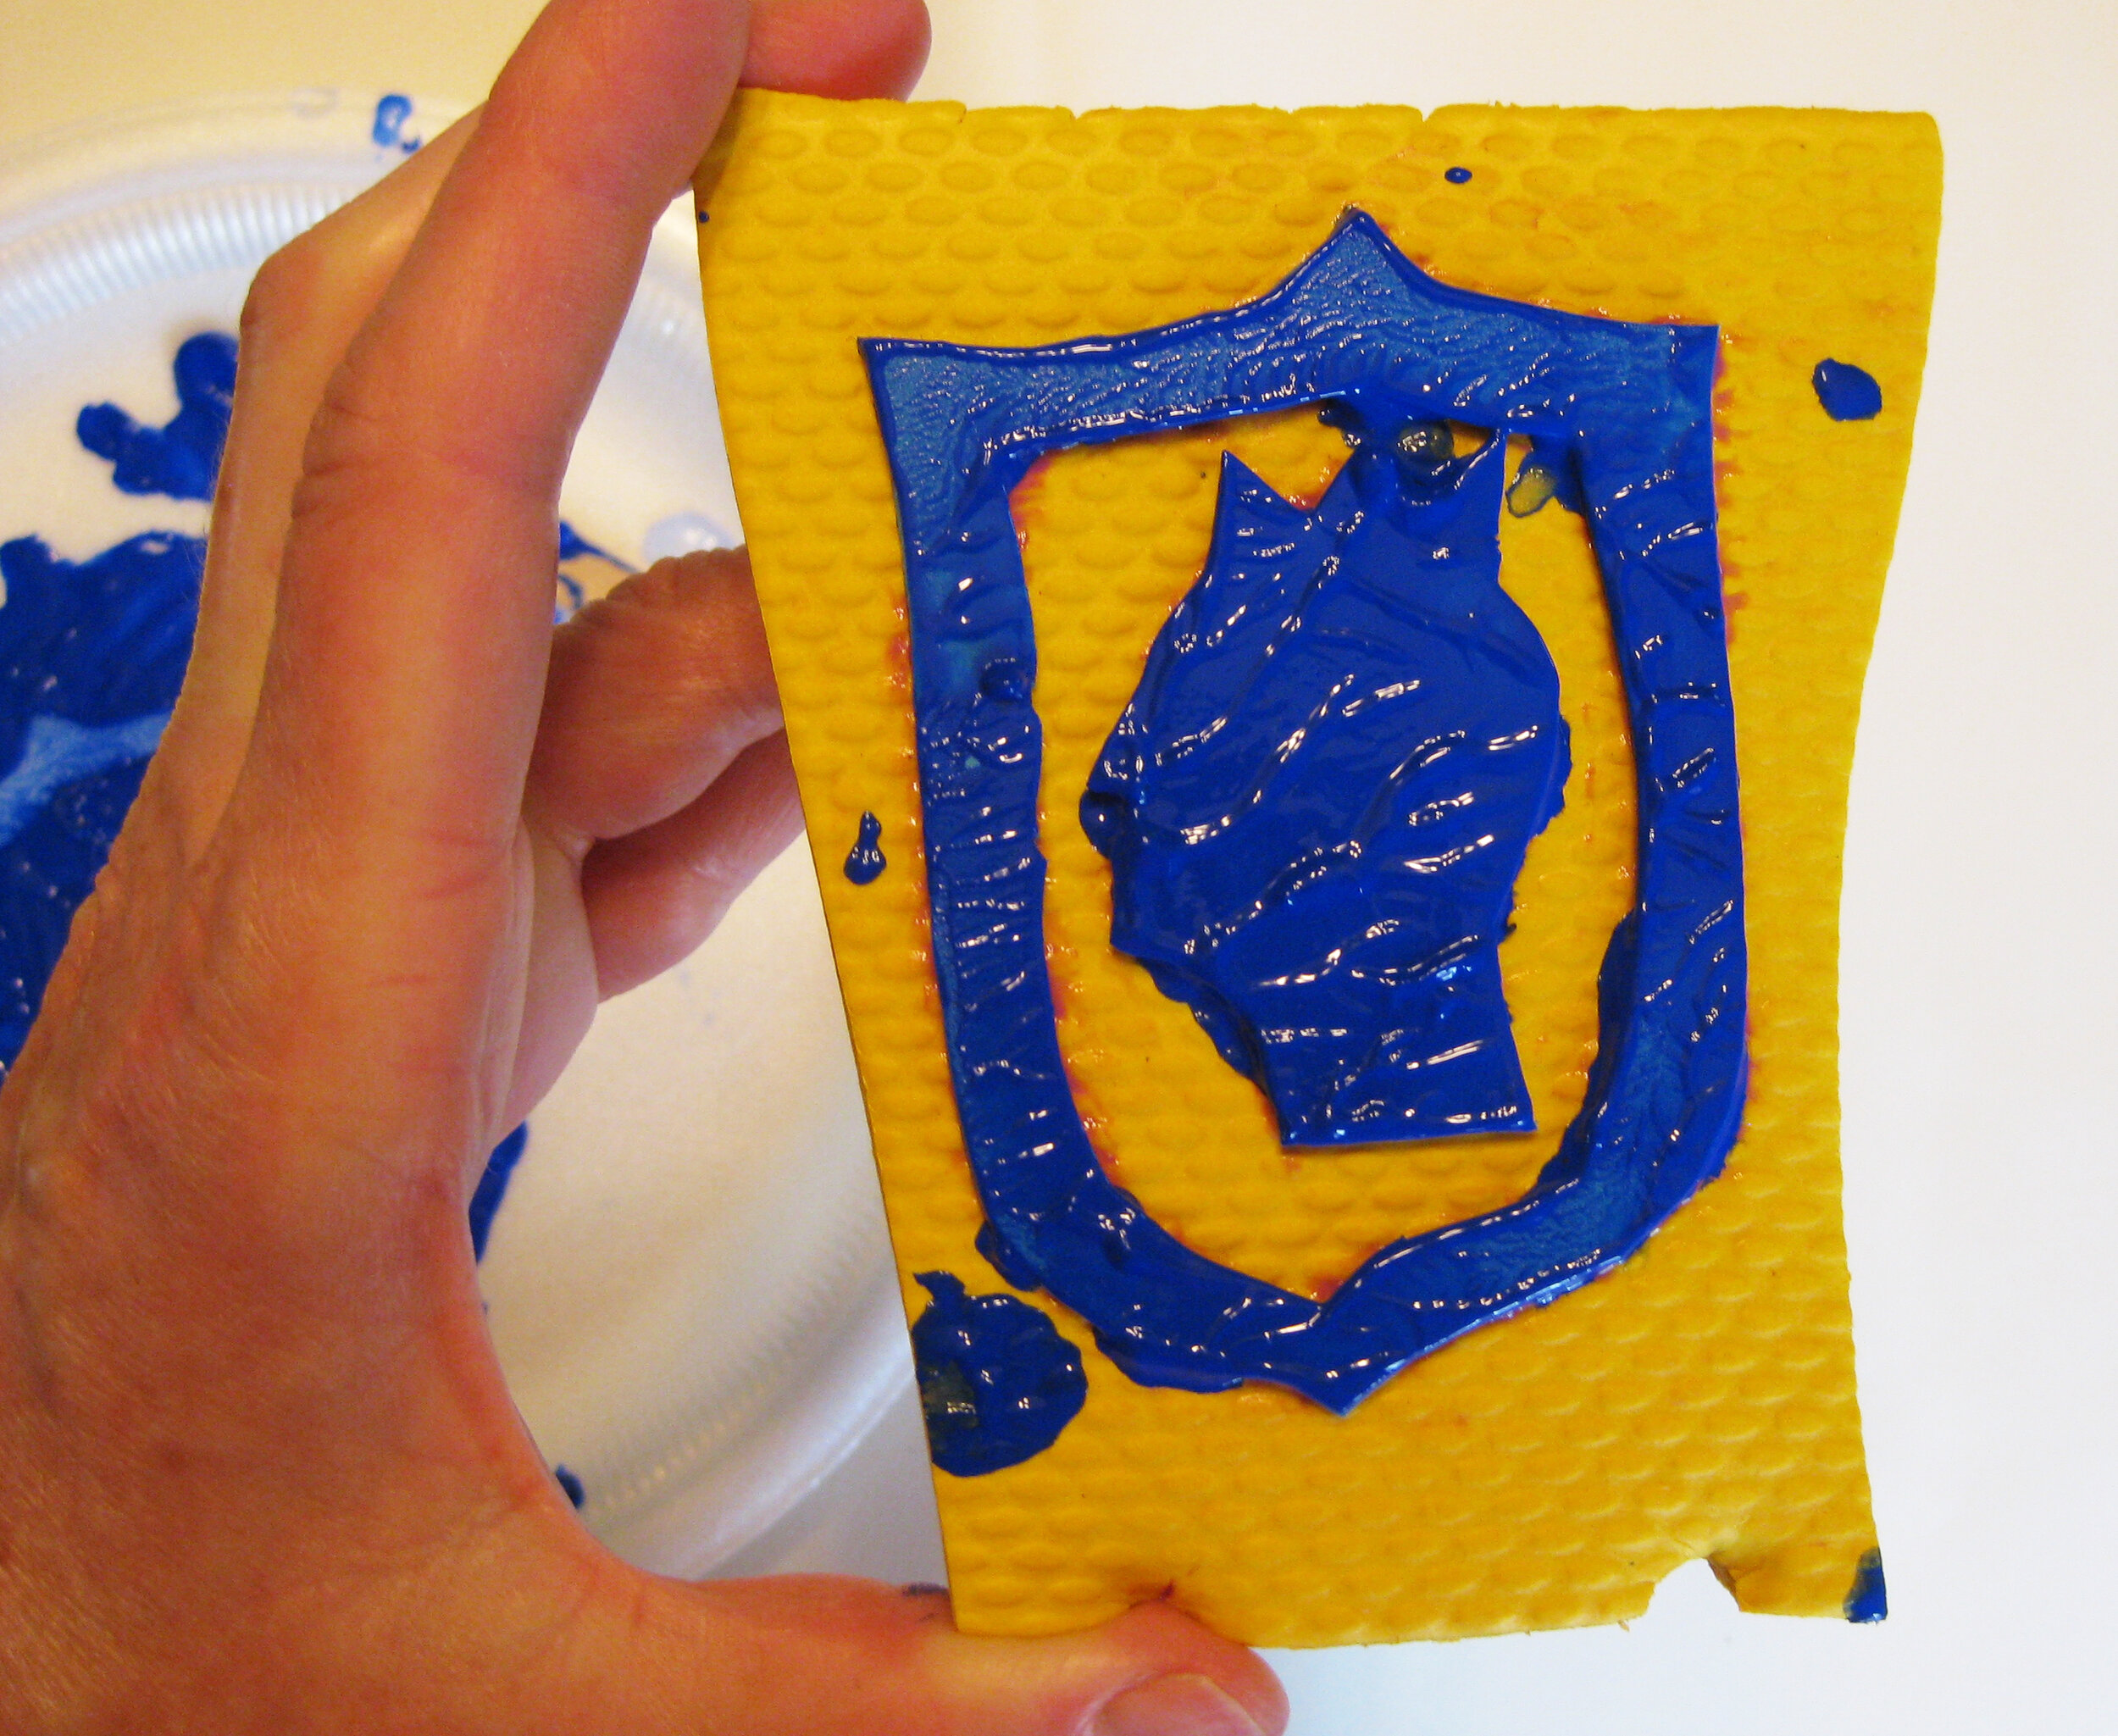
  3. Cut around the outside shape of your craft foam seal. Turn it over so the drawing on it is facing down. You do that because your stamp must be a mirror image of the final version. Place it on the backing, then trace around it to show where it will go.

  4. Carefully cut out the symbols of your seal from the craft foam. Glue the outside shape onto the backing, again making sure that the side with the drawing is facing down onto the backing. Then glue the symbols inside, also facing down.

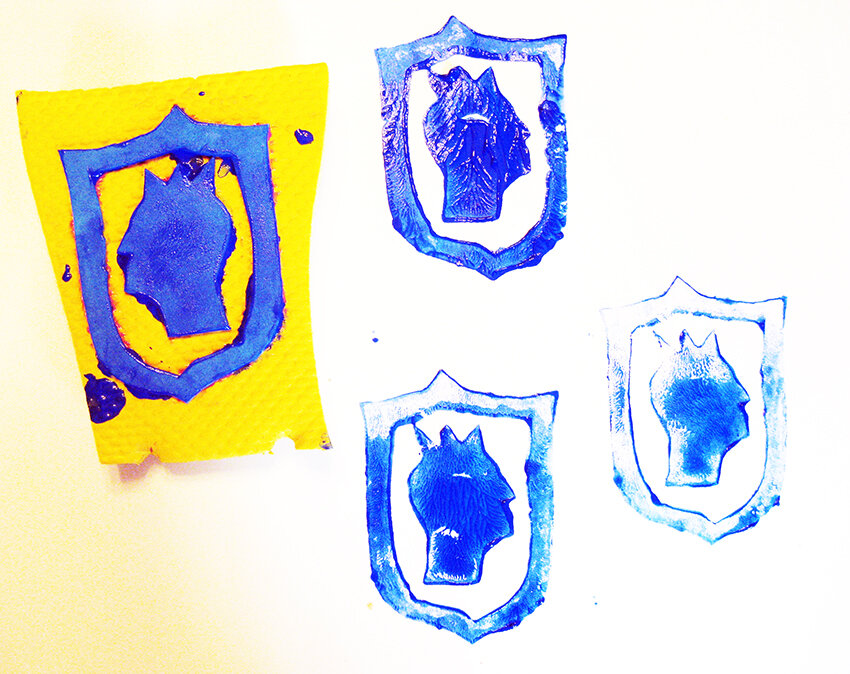
  5. When it’s dry, test your seal with a sheet of scrap paper before you put it on any important documents. Press it onto an inkpad or into a very small amount of paint poured onto a disposable plate. Then press it onto the scrap paper to see how it looks. If you want your seal to appear in different colors, you can carefully brush a thin coat of paint onto just one section or symbol at a time using the colors you would like for your coat of arms. You can also try swirling a few colors around on the plate, keeping them separate, for a multicolor effect.


This page may contain affiliate links. Thanks for helping me to keep producing great learning advice and activities for kids!


Crafts for Learning: Pie-Tin Celtic Jewelry

 
Celtic Shield Library.JPG
 

Welcome! This is the first in an on-going series of Crafts for Learning articles for kids, each with a hands-on project using everyday stuff like household supplies and recycled materials. You can find this project and more in my book Around the World Crafts.

Up until very recently, people in Britain would dig up sphagnum moss from swampy peat bogs to use as fuel. In 1983 in England, workers cutting peat moss in Lindow Moss bog discovered a body and called the police. The victim had been strangled, hit on the head, and stabbed. And the authorities had a likely suspect: a local man whose wife had disappeared 25 years earlier. When police told him of their find, the man confessed to his wife’s murder. So it was a surprise to all involved when experts declared that the body wasn’t the unlucky wife. In fact, it belonged to a man who had died nearly 2,000 years ago! What was the truth behind the mysterious bog body? The answer came through archeology.

Archeology is the study of past human cultures. Archeologists dig up artifacts, or things made by the people they’re studying. Then they scientifically analyze them. They try to figure out when the artifacts were made, how they were used, and how they ended up where they were found. Occasionally, as in the case of the Lindow Man, they also find remains of the people themselves. Radiocarbon dating told researchers that Lindow Man lived between AD 20 and 90. At that time a tribe of people known as the Celts occupied Britain.

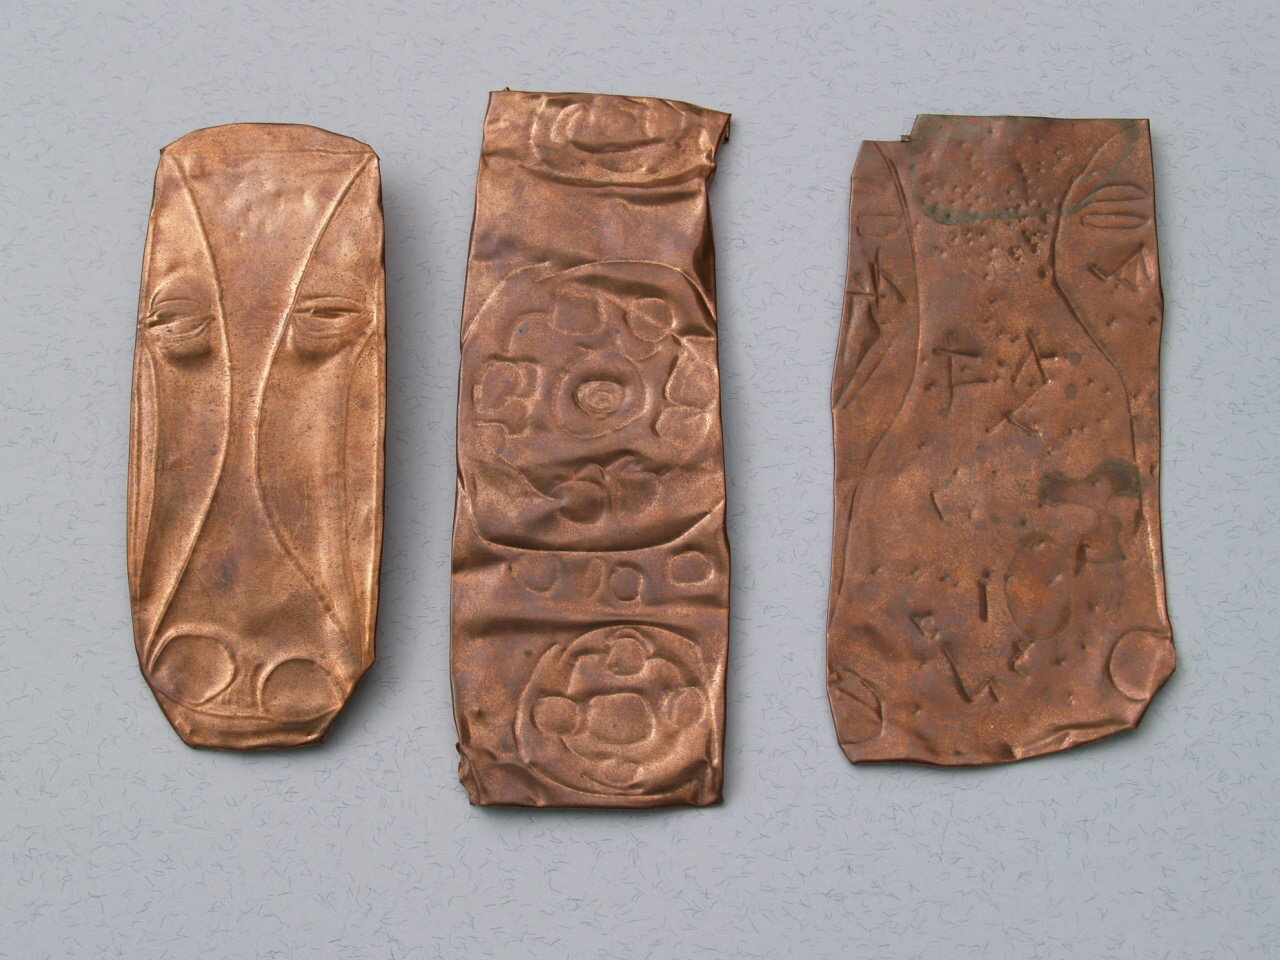
Starting around 800 BC, the Celts were the most powerful tribe in northern Europe. This was the Iron Age, and metalwork was a specialty of people of the region. For decoration, they made elaborate brooches (pins), torcs (neck rings), and arm bands. For fighting, they made shields, helmets, and swords. They adorned them with designs featuring animal and human heads. Another popular pattern was the triskeles, a wheel made of three running human legs. (Three was a special number to the Celts). But most Celtic artifacts have been not found in homes, which were made of straw and mud that did not survive the centuries. Instead, like the Lindow Man, they were found in water.

Celtic arm band

The Celts did not have a written language of their own. But in AD 43, Roman armies invaded Britain. The invading Romans wrote about the Celtic priests, the Druids. The Druids worshipped gods and goddesses who were part of the natural world in their secret ceremonies. For instance, every winter solstice Druids would give out sprigs of mistletoe. These were hung over doorways as protection from evil. Heather was another sacred plant with connections to the spirit realm. Water was connected to the Otherworld. The Druids would place ceremonial offerings of valuable handicrafts in rivers, lakes and bogs. It was said they also made human sacrifices there.

As it happens, the sphagnum moss in peat bogs turn the swampy water to acid. The acid kills the bacteria that makes things rot. So instead of decomposing, Lindow Man’s soft body parts were preserved by the bogwater. His skin and organs became tough and rubbery. It was the same process that turns animal hides into leather. Lindow Man’s bones, clothes and shoes had dissolved. But archeologists found traces of his last meal in Lindow Man’s stomach. It consisted of bread cooked over a fire of heather branches, and a drink made of mistletoe pollen. For archeologists, the “triple” murder, the watery grave, and the sacred plants were all clues. They concluded that Lindow Man was the victim of human sacrifice.


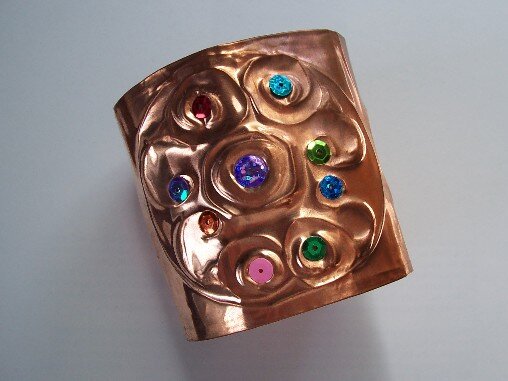
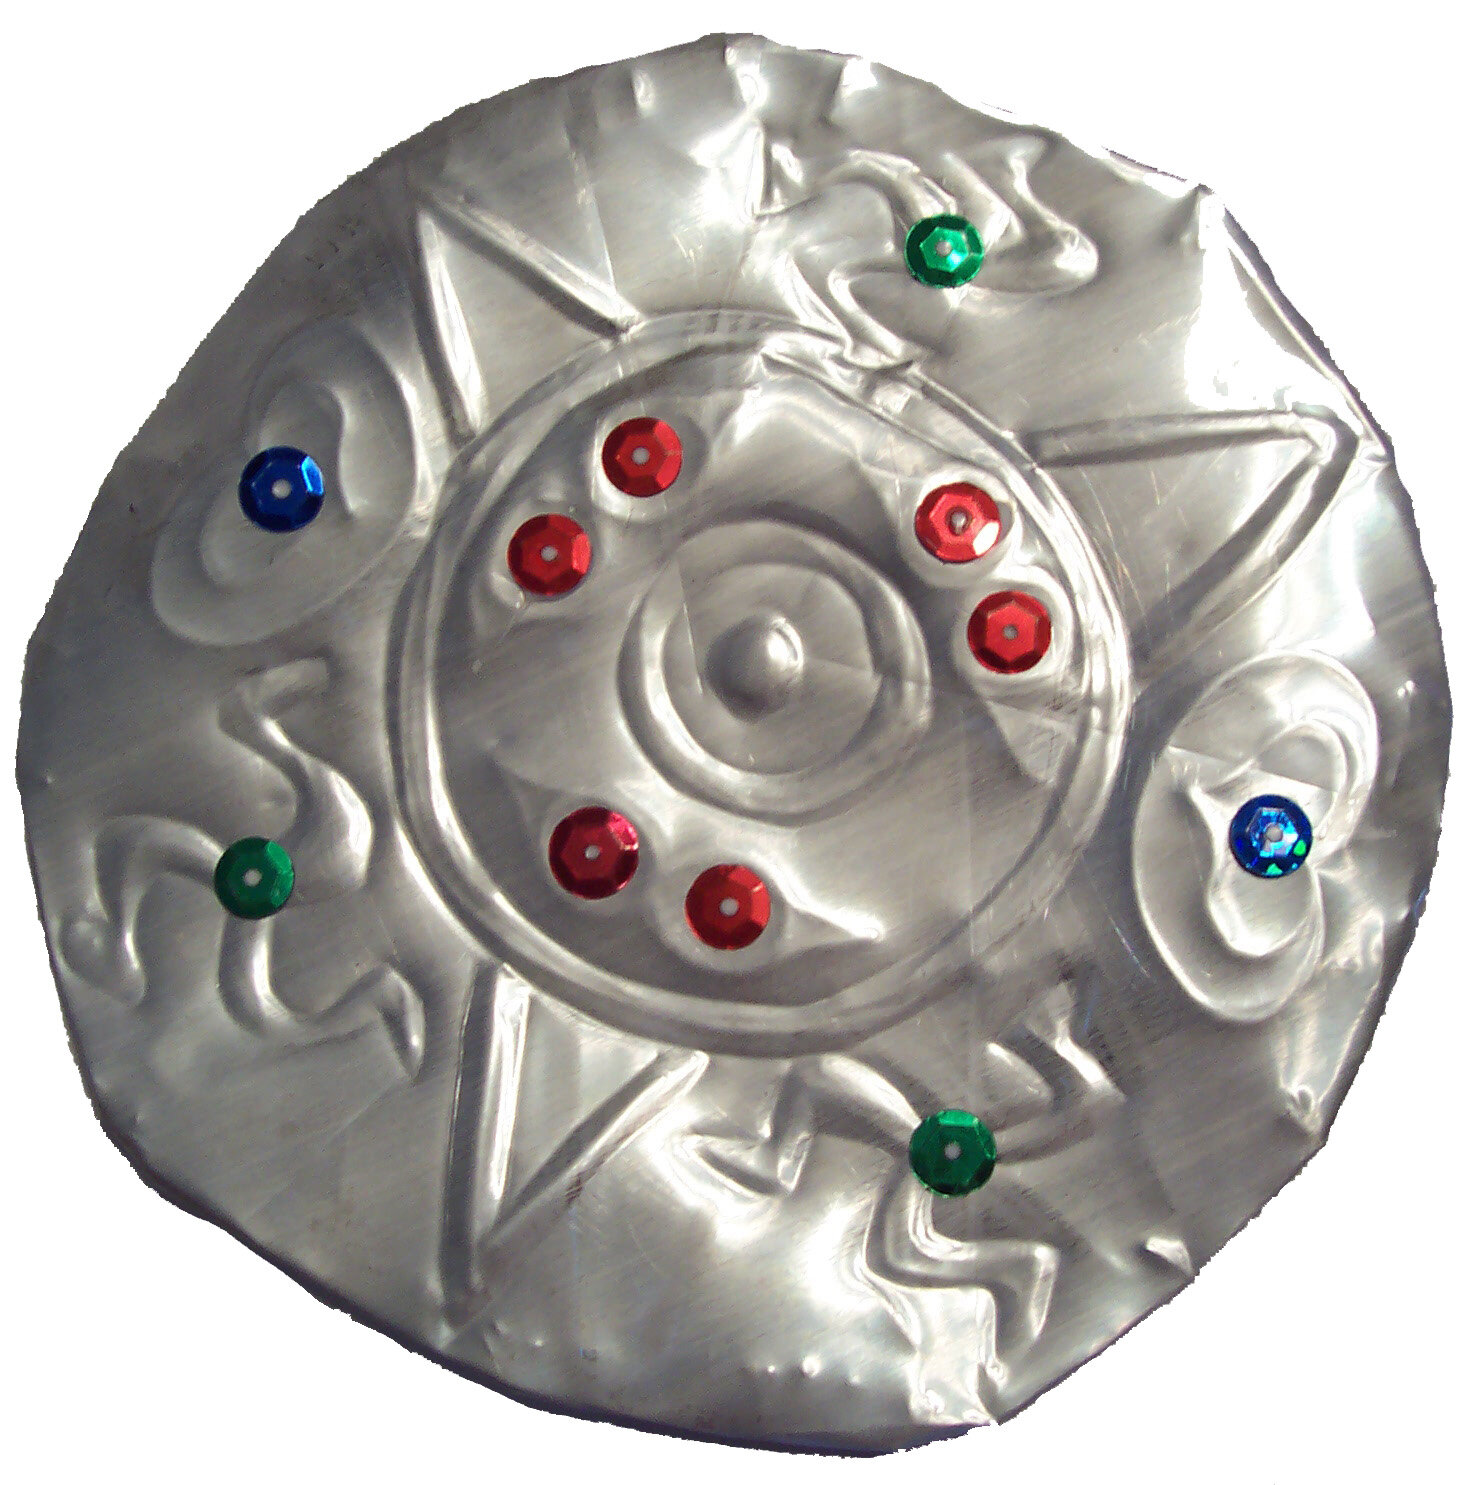
You can make a replica of an Iron Age arm band or ceremonial shield covered with Celtic designs out of copper foil from the art store or even an aluminum baking pan. Wear it on your wrist or turn your shield into a pin to wear on your cloak!

Materials:

  • Scrap paper

  • Copper foil (30 mils thick) or aluminum foil pie tin or baking pan

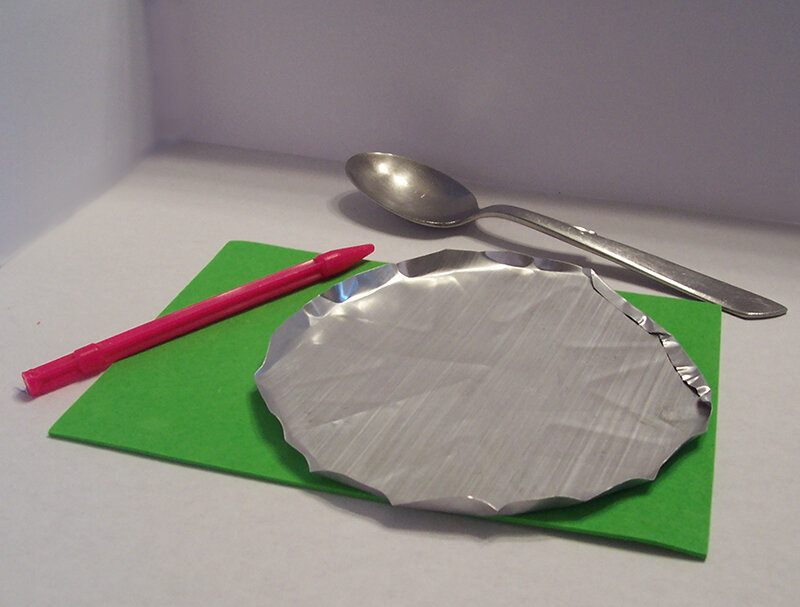
  • Embossing tool with a rounded point (like a lift-erase pad drawing stick) or a spoon

  • Stack of scrap paper or cardboard, or sheet of craft foam to press on

  • Sequins or other decorative “jewels” (peel-and-stick or use adhesive dots to attach)

  • (Optional) Stick-on pin fastening

  1. To get ideas, look for Celtic designs on websites like the British Museum website and DK Books.

  2. Draw your shield or bracelet first on a piece of paper. Then draw a margin about ½ inch around the edge. This will be your pattern for cutting your copper or aluminum.

  3. Use scissors to cut the foil the same size as your pattern. Handle the metal carefully, as the edges may be sharp.

  4. Put your soft surface under your piece of foil with the BACK facing up. Fold the edges towards you and press down smoothly with your embossing tool or a spoon.

  5. On the back of the foil, use the embossing tool to draw your design. It will “pop out” on the front. Try using different pressures and angles with the tool to get different effects. To make the design stand out even more, turn the piece over and outline the design on the front.

  6. Add jewels or other decorations.

  7. Bend the bracelet to fit around your wrist, or attach a pin fastening to the back of your shield, near enough to the top so that the pin won’t tip forward when you’re wearing it.


This page may contain affiliate links. They add nothing to your cost, and help support this website. Another way to help me keep producing great STEAM content for kids is to buy my books. Thanks!